


Back to Basics: The Whole Chicken
A beginners guide to cooking whole foods from scratch

Since the beginning of my crunchy journey, I’ve always been a proponent of taking baby steps because changing everything all at once is overwhelming. And when you get overwhelmed with something, you’re more likely to:
get opposition from your family
get discouraged
quit
While I was already accustomed to cooking the majority of our meals at home because of my upbringing, I realized the meals I was cooking lacked a ton of beautiful nutrition that was readily available to me.
For example, I strictly purchased boneless, skinless chicken breast, never once giving bone-in chicken even a second look. Then I learned about the importance of consuming healthy animal fats with your meat (like the skin on the chicken) and how slowly cooking meat on the bone infuses the meat you eat with tons of vitamins and minerals you don’t otherwise have access to.
That’s why one of the first things I learned to cook from scratch was a whole chicken.
I’ll be honest, it was intimidating.
It’s hard to cook and eat meat on the bone when you’ve been eating boneless meat your entire life! Handling the chicken is hard, pulling out the neck and giblets is hard, getting used to eating pieces of meat that have a little red or purple on them because of the pigment from the bone marrow seeping through the bones… it all takes some getting used to you.
I remember just talking to myself in those early months: “This is NOT gross, Johanna. This is REAL food and it’s really good for you.”
Ya’ll, I’m not kidding! I literally said those things to myself until I was no longer grossed out by it. It took some reprogramming, and that’s okay because it’s true: this meat is far better for my body than that lifeless chicken on the styrofoam tray!
I say all this to encourage anyone out there who thinks they would never be able to prepare, cook, or even eat a whole chicken or even chicken drumsticks. If you agree that bone-in meat is more nutrient-dense and want to get to a place where you’re regularly making it for your family, then I promise you can get there!
The best part is: bone-in chicken is cheaper than boneless, tastes SO much better, stretches further, AND you get to stockpile bones for bone broth. It truly is the way to go!
How to Make THE BEST Roasted Chicken
Ingredients:
One organic, pasture-raised whole chicken (or the highest quality you can afford)
Brine solution: this is my favorite recipe
Seasoning for after you’ve brined the chicken:
1/4 cup Chosen Foods Chicken Sauce (or plain yellow mustard works great too)
1 tbsp Paprika
2 tsp Garlic Powder
2 tsp Onion Powder
1 tsp Salt
1 tsp Pepper
Directions:
The night before you’re going to cook your chicken, prepare your brine solution. DO NOT SKIP THIS STEP. Brining is the magical process that will make your chicken soooo juicy and delicious.
I’ve adapted this recipe slightly because I use high-quality Redmond Real Salt and don’t want to just throw it all away, so I use 6 TBSP instead of half a cup. I’ve been doing this for a while now and it works great. Follow the instructions, then cover your chicken and let it sit in your fridge until the next afternoon when you’re ready to cook.
Pull your chicken out one hour before you plan to roast to allow it to come to room temperature (this is optional, I’ve forgotten in the past and that’s ok!)
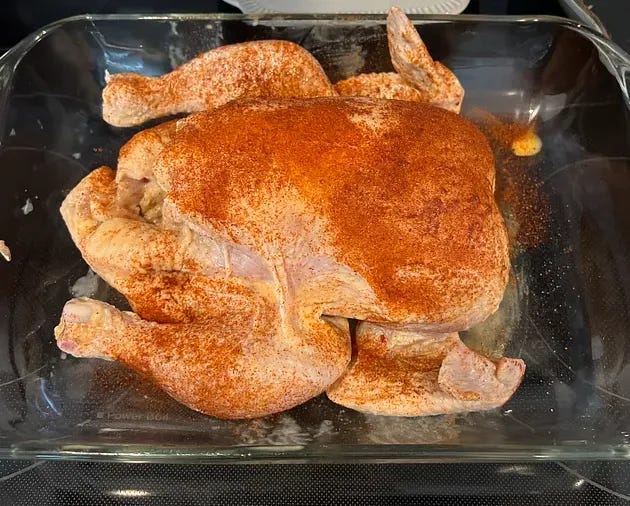
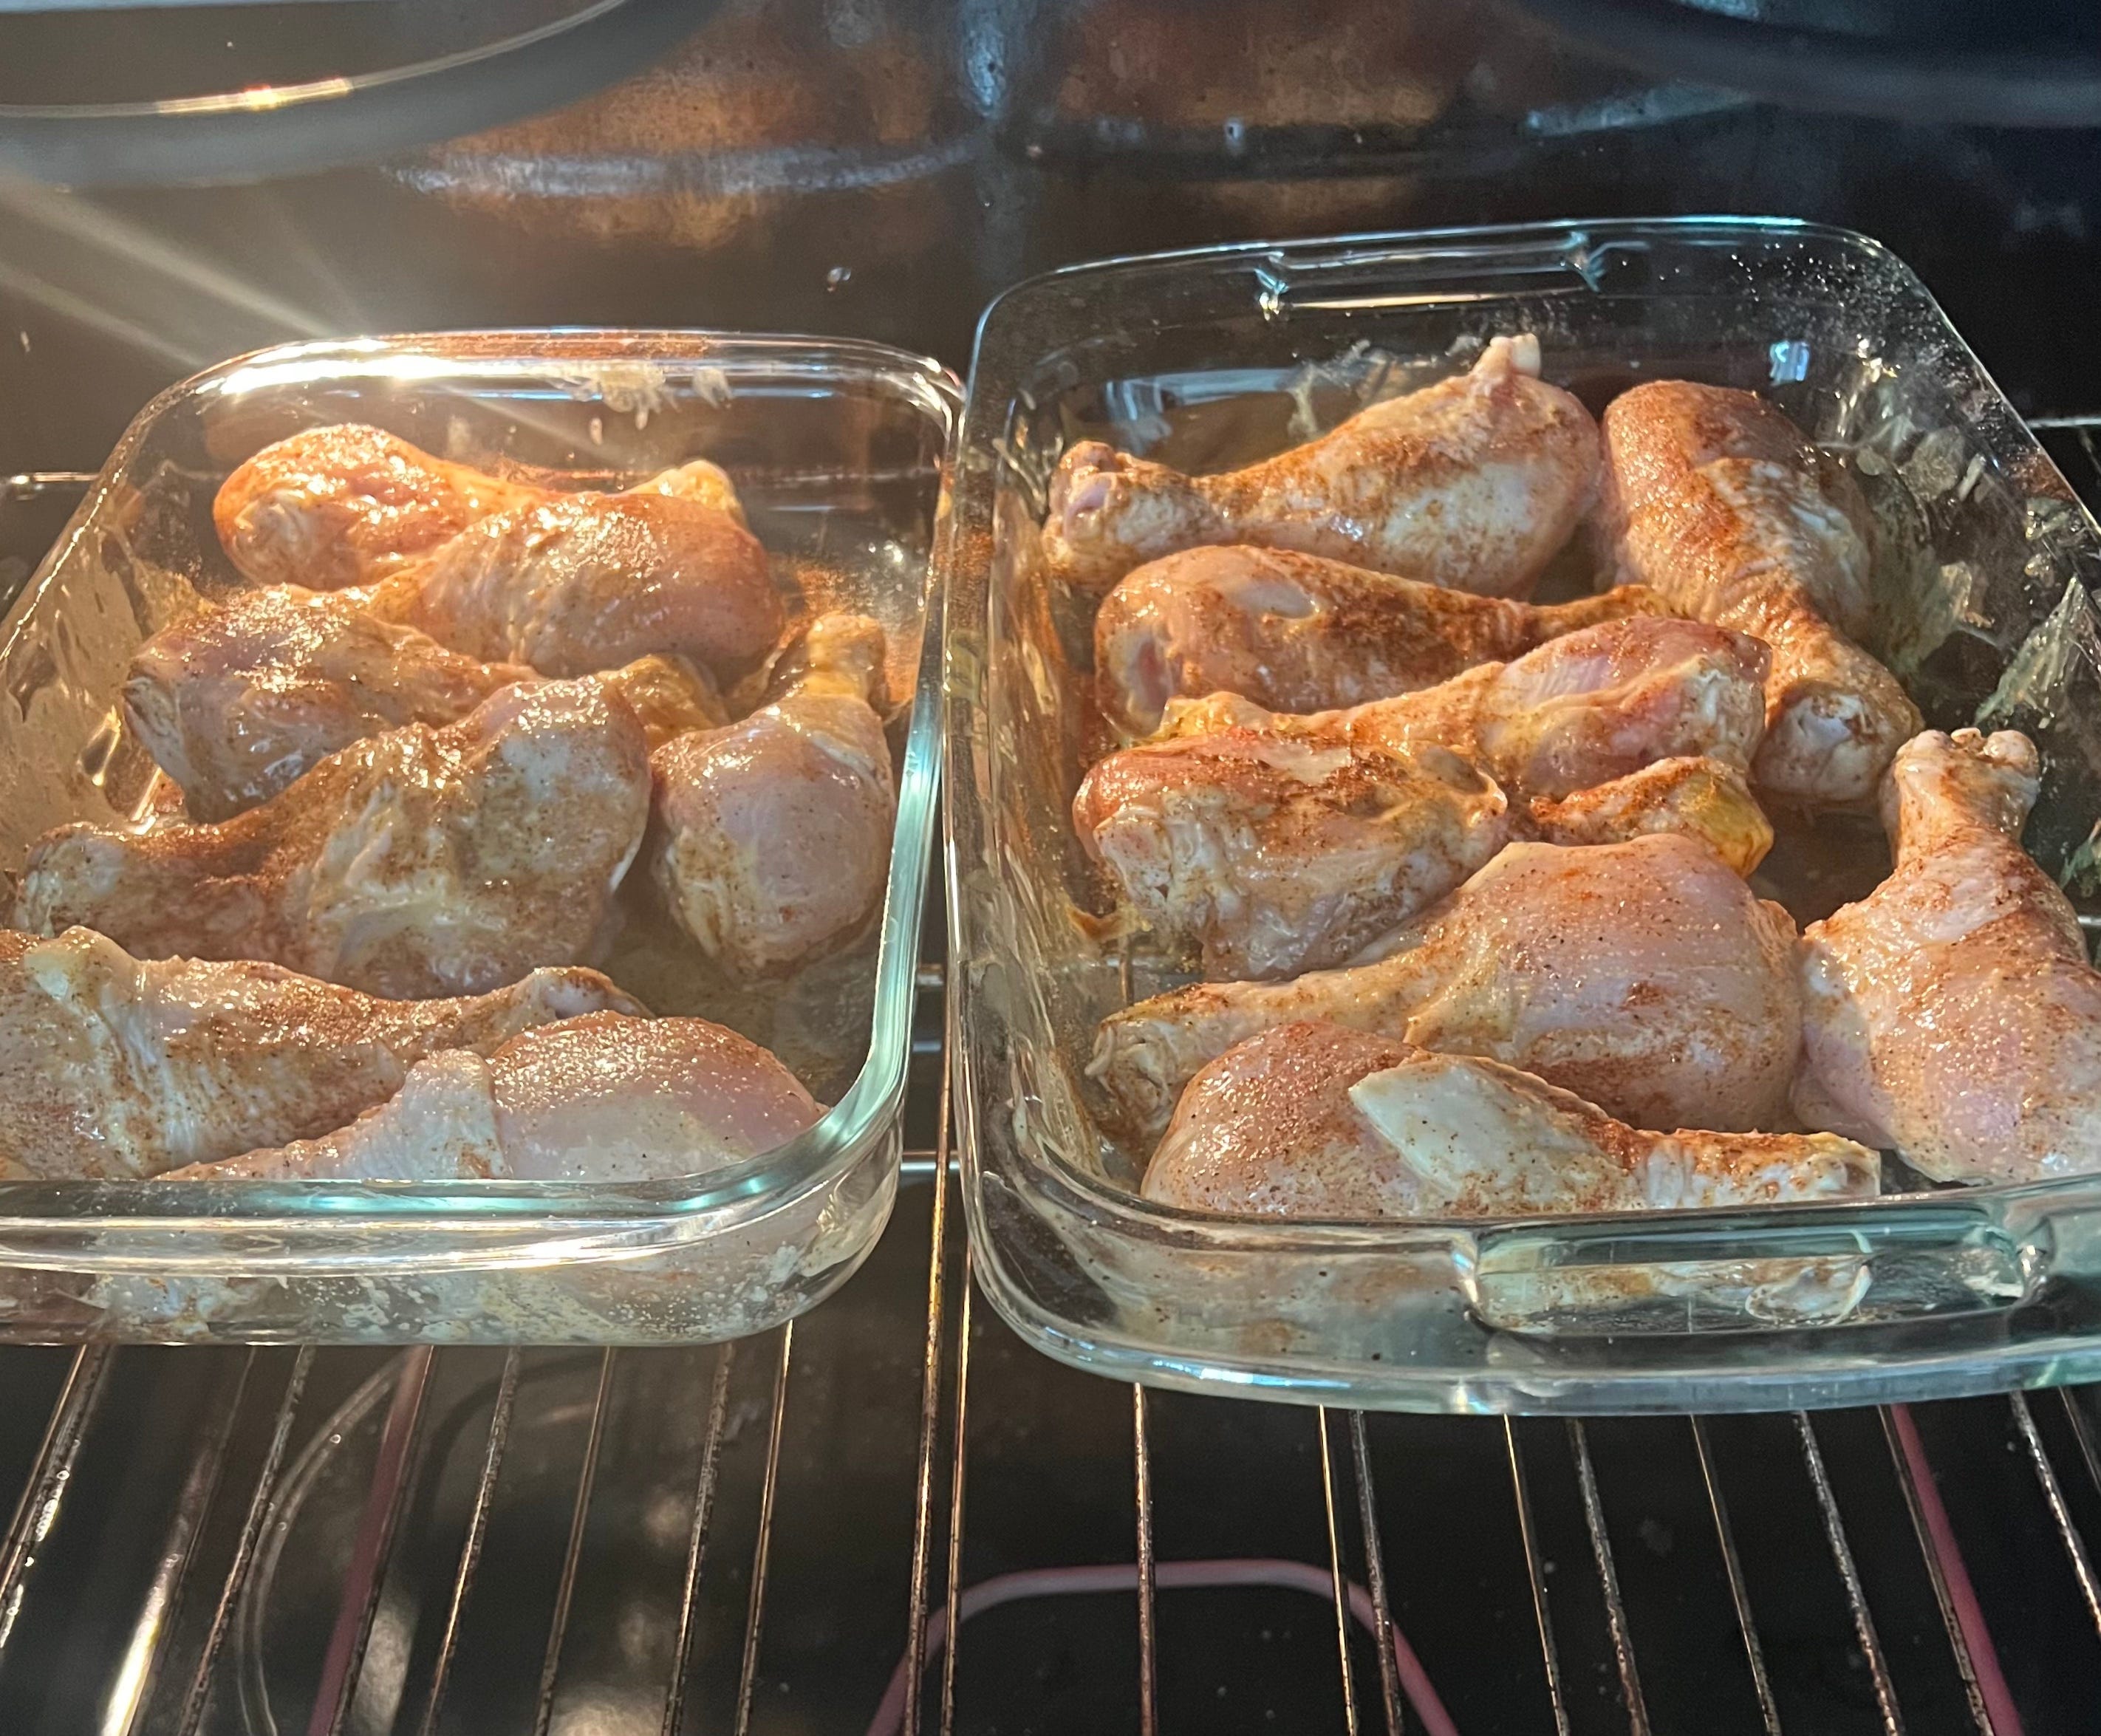
Cover your chicken with the chicken sauce or mustard and spread evenly all over the chicken (I just use my hand), then sprinkle with the remaining seasonings. I measure with my heart but I added amounts above for those worried about not having exact measurements.
Bake at 350 for about 1 hour and a half. Check the internal temp at one hour and tent the chicken with foil if it’s getting too dark on top.
When the internal temperature reaches 165, pull out, tent with foil and let it sit for 10 minutes before carving.
Carve your chicken and enjoy!
When your family is done eating the meat for the night, pull the rest of the meat off the chicken and store in a separate container. Use that chicken as leftovers or add it to soups, chicken salad, etc. Then put all the bones from the carcass (and neck if it came with one) in a slow cooker with 2 whole carrots, 2 stalks of celery, 1 whole onion sliced in half, 2 bay leaves, 2 tbsp of apple cider vinegar, a generous amount of mineral salt, and cover completely with water. Set it on low and let it cook for 20-24 hours. Finally, strain the meat and vegetables out and save the broth in the fridge for soup later that week or store in the freezer for long-term storage.
**You can do this exact same process with chicken drumsticks—an extremely affordable cut of meat. I recently bought a triple pack of drumsticks at Costco for $10.71 (and IMO drumsticks make the BEST gelatinous bone broth).
Let me know in the comments below if you want to see more “back to basics” content like this one!
Yes, I love this—so helpful. I didn't know about brine and will definitely try that!
Great post!